Wednesday, October 31, 2012

Halloween Skeleton Nails


Happy Halloween everyone! Today I have my Halloween mani to share with you. I actually have two other Halloween/Fall nails that I did last week but just didn't get a chance to post yet. I just wanted to do a quick post to share what I am wearing today! I actually did a variation of these nails on my friend Julie last year when she graduated from her Radiology program after she had found the idea on Pinterest. I've been wanting to try these on myself ever since!


To do this mani I started with two coats of Color Club Revvvolution, a beautiful black holo. It's got such a fantastic formula! It goes on so smooth... not to thick, not to thin, and not streaky at all. I forgot how much I love this polish. I actually have swatched this color before, here, in the sun. Unfortunately the weather is rather gloomy so I haven't been able to find any sun to photograph these nails in this time.

I put a coat of Seche Vite on top to help speed up the drying process, and then on my right hand I stamped the skull design using Bundle Monster Plate BM-225 and Konad Special Polish in White.


Then for my left hand I used my Two Way Nail Art Brush and Pen in White, using the pen side to draw on the skeleton's bones. I really like this tool, it's pretty easy to work with.

 
Then I sealed everything in with a coat of Seche Vite. Now, you may wonder why I only have a picture of three fingers in that first picture... it's because I had such a hard time getting my pinky to behave for these pictures! Plus, my patient fiance was trying to help me take my pictures... and as you could probably guess, photographing nails wasn't all that interesting to him! Lol. Here is an example of how my pinky was giving me trouble... This was the best one I could find! Thanks for looking.


Wednesday, October 24, 2012

Halloween Needle Marble with OPI My Boyfriend Scales Walls

Hi there! Another Halloween design for you today. I originally found this idea on Pinterest, but it looks as though it's originally from a blog called 
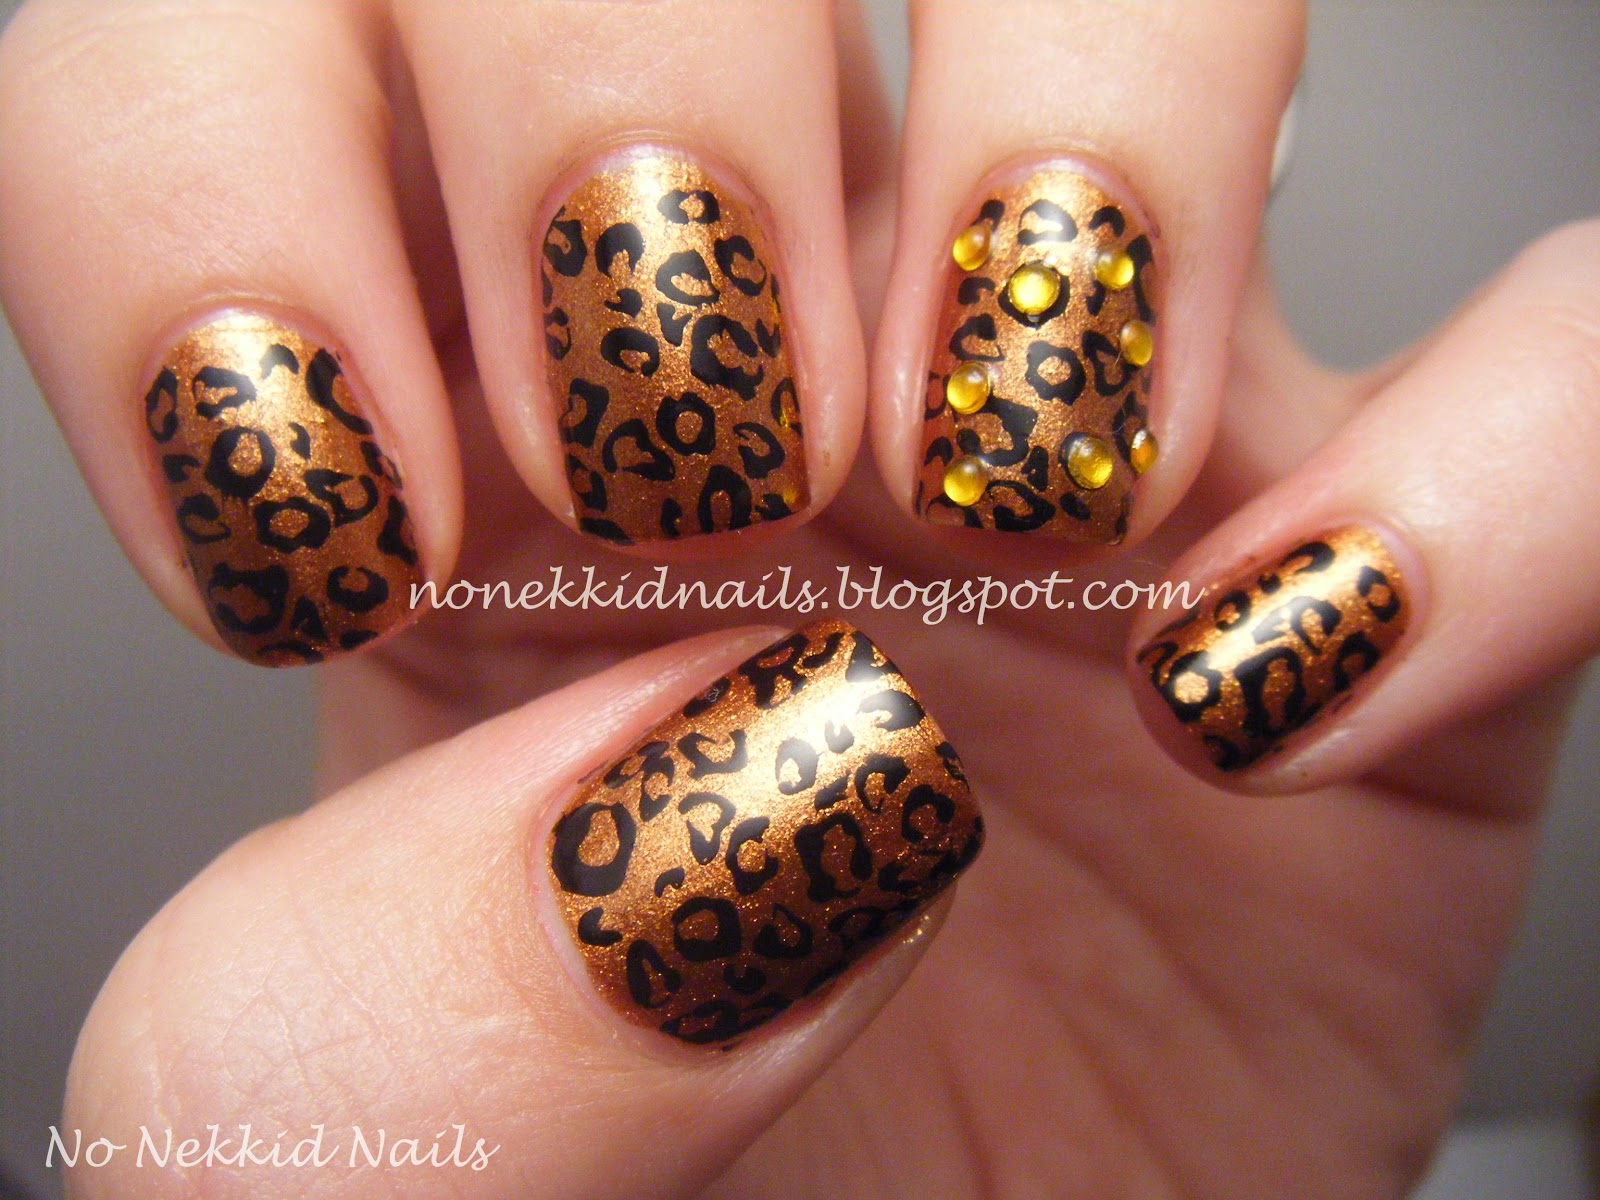
Enamel Girl. I love how this design looks like spider webs, and adding the little orange rhinestones make it more of a Halloween color combo.


I have tried this technique a while ago in a pedi, but never attempted a manicure before. There was definitely some trial and error involved. First, I'll tell you how I did this, and then try and give you some tips!

First I started with one coat of OPI My Boyfriend Scales Walls... let's take a second while I gush about this polish... Perfect grey-ish white, great formula, love it! I had seen a lot of my favorite nail art bloggers use this polish over and over again so I knew I would have to get it. Every white polish I have ever used is really so streaky and annoying to use, but this one went on very nicely and was so easy to work with. I didn't have to put it on thick just to cover the streaks. I highly recommend it!

Okay, back to the design. I started with one coat of My Boyfriend Scales Walls, and then one finger at a time I added a second slightly thicker coat of the polish (so it wouldn't dry too quickly on me while I was working). I didn't glob it on, but I put on a thicker coat than I would have for just normally painting my nails.


When it was wet, I had my Finger Paints Ch-Art-Coal Black Striper open and ready to go, and put on 4 or 5 stripes diagonally up the nail. These do not have to be neat looking stripes, as you can see by my picture below. These stripes should be a little on the thicker side as well so that it blends together and it makes the next step a bit easier. Again, you don't have to glob it on, but I noticed that if I used really thin stripes without much polish I didn't like the final product as well.


As soon as you finish adding your stripes, grab a needle and drag from the bottom corner of your nail, on a diagonal outward to the tip of your nail. Repeat this process until you have the desired look that you want.
 
 
A few tips that I have is to use a light touch when dragging the needle across your nail. I noticed if I wasn't steady and pushed too hard that I would get some of my bare nail to show underneath. I tried to do this technique with a toothpick and it wouldn't work for me. Every time I tried it with a toothpick I could see SO MUCH of my bare nail, and it didn't blend the colors as well. I know some people have used toothpicks before, but it just wouldn't work for me at all.
 
Finally, I added a coat of Seche Vite to smooth everything out, and added little orange rhinestones into the corners of my nails. Thanks for looking!


Monday, October 22, 2012

Green Halloween Stitches

I've got another Halloween design for you today! I saw this idea on Pinterest and it seemed like a pretty simple and fun mani to try out. Plus, I got to use lots of green which is always a plus for me! It reminds me of Frankenstein or Nightmare Before Christmas.


To do this mani I first painted my index and ring finger with two coats of China Glaze Electric Pineapple, and my thumb, middle and pink with two coats of OPI Stranger Tides. Then I painted alternating sections of each of the nails with China Glaze In The Lime Light. I didn't use tape to line these up because I was painting black lines to disguise the uneven paint job. Before painting the black lines I put on a coat of China Glaze Ghoulish Glow, their glow-in-the-dark polish. I was hoping it would look really cool, but it barely showed up.... see below *sigh*. The bottle was glowing like crazy, but I could hardly get it to show up on my nails. It may have worked better with several coats? I'm not sure, but I was rather bummed about it.


I used a Finger Paints nail art striper in Ch-Art-Coal Black to draw on the black stiches, then I topped everything with a coat of Seche Vite. Thanks for looking!


Saturday, October 20, 2012

China Glaze Cast a Spell and Roguish Red Halloween Stamp

It's time to start some Halloween mani's! I think these are my favorite themed designs to do, there are so many fun designs out there to try and I just can't get enough! I went to Sally's last week and had only intended on getting a few of the new China Glaze Wicked Collection, but I caved and got them ALL. Woops! I couldn't resist - they had a 4-pack including their glow in the dark polish, Ghoulish Glow, for $9.99. It felt like a steal!


I used two of the polishes from the collection for this mani, China Glaze Roguish Red and China Glaze Cast A Spell. The formula on both of these was outstanding. Seriously. I used two coats of each but it was out of habit rather than necessity. I was especially surprised with Roguish Red because I would have expected it to be more shear or streaky but it went on so smooth and it was so opaque! I love it. Cast A Spell reminded me a lot of China Glaze Smoke and Ashes, except it has an olive/gold shimmer instead of the multi-colored shimmer in Smoke and Ashes. I just love both of these colors and can't wait to try out the rest of the collection.


The stamp on this mani is Konad Special Polish in Black, and Bundle Monster Plate BM13. The web and the spider are two different stamps, and the bat stamp is actually the top two bats, and I felt like I needed a third so I repeated one of the bats to make it fill my nail. I loved wearing this design and I love these colors! Thanks for looking!


Thursday, October 18, 2012

China Glaze Go Go Pink Stamp Mani

Hello there! Today I have a mani for you that I did for my engagement pictures! My wonderful cousin took some save the date and engagement pictures for my fiance and I last weekend and I had several different outfits so I wanted to give myself a subtle mani that would look nice with all the different outfits. This is what I came up with!

 
To do this mani I started with three coats of China Glaze Go Go Pink, with a coat of Seche Vite on top to help it dry faster. I was not impressed with the application on this polish. I don't think you could get away with less than three coats on this one. It was very thin and streaky, and I don't feel like it is unique enough to put up with such a bad formula. It's a beautiful color, but not worth the trouble. If I hadn't been planning to stamp over it, I may have added another coat to try and even out all of the streaks.
 
 
To stamp this design I used Konad Special Polish in White, and Konad Plate M64. I had some smudging on my thumb but the rest of the mani turned out nicely. I topped it with a coat of Seche Vite. Thanks for looking!


Tuesday, October 16, 2012

China Glaze Harvest Moon Cheetah Stamp Mani

It's wedding season - so I have another design I did to match a dress for my neighbor's wedding! It was a black and brown cheetah print dress.

 
To do this mani I started with two coats of China Glaze Harvest Moon with a coat of Seche Vite on top. This color was one from the Hunger Games Collection. Another really pretty color, I'm not sure if my pictures do it justice.
 
 
Then I used Konad Special Polish in Black to stamp with Bundle Monster Plate BM-221. I threw on some rhinestones to accent my ring finger... I wish that I hadn't, I don't really like how it turned out but I thought I would share it anyway! Thanks for looking.


Sunday, October 14, 2012

OPI Love is a Racket and Pros & Bronze

Today's mani is two coats of OPI Love is a Racket topped with one coat of OPI Pros & Bronze.
 
 
Below is two coats of Love is a Racket on it's own. The application of this polish was flawless! I couldn't believe how evenly this applied. There were no streaks, it wasn't too thick or thin - it just applied perfectly. It has little shimmery flecks in it that are similar to those in Pros & Bronze. Very beautiful! I really could have gotten away with one coat, but two coats are habit I guess!


Then I added one coat of OPI Pros & Bronze on top of it. Another beautiful color that was easy to apply. I couldn't really see it on my nail, but in the bottle I see flecks of old, bronze and even some iridescent purple. It's very pretty! These two came together in an OPI Serena Glam Slam Duo Pack.


Friday, October 12, 2012

Ulta Deep Desire Flower Stamp with Sally Hansen Gold Chrome Pen

This mani was done to match another dress I wore to another one of my friend's who got married! I was wearing a burgandy dress that was nearly a perfect match to this color.

 
 To do this mani I started with two coats of Ulta Deep Desire with a coat of Seche Vite on top, below. I really like this color a lot. Another perfect fall color, a deep burgandy that wasn't too dark. Just right. Love it.
 
 
To stamp this mani I used Bundle Monster Plate BM-221. The color I used to stamp was one of those Sally Hansen Color Quick Nail Color Pens in Gold Chrome. I had heard these were good for stamping, but haven't tried it before. Good is an understatement! Stamping with this polish pen was flawless! Each design came up perfectly, there was no smearing, no streaking, no missing bits of the design. Amazing. I honestly can say I like these for stamping better than the Konad polish I have that is made for stamping! If you haven't tried stamping with these yet, go out and get one! I haven't used any other colors yet, and this one is a metallic finish. I am curious to try some of the others and see if they are as amazing as this one!


Tuesday, October 9, 2012

Sinful Colors San Francisco

I did today's design to match a dress I wore to my friend's wedding. I had on a black skirt and green top. I have seen this idea before on several blogs, but I can't remember where exactly I got the idea. If I stumble on it again I will post my inspiration! 
 
 
To do this mani I used three coats of Sinful Colors San Francisco, with a coat of Seche Vite on top. San Francisco was very sheer and even after three coats I felt like I could have used another. On my ring finger and thumb I applied some black square rhinestones that I had purchased on ebay. Thanks for looking!

Saturday, October 6, 2012

China Glaze Midtown Magic and Color Club Antiquated Leaf Stamp

I'm still on the fall nails kick! I actually saw this mani last September on Scrangie's blog, and at the time I didn't have the stamp I needed to make it happen! It's been stuck in my head ever since, so I finally got a chance to do it as the weather cools. 

 
To do this mani I started with two beautiful coats of China Glaze Midtown Magic, below, with a coat of Seche Vite on top. This polish is a stunner! This is one of the colors from the Metro Collection for Fall 2011. It's got such a beautiful gold shimmer that I love. I tried to capture it in the below pictures, I hope you can see how gorgeous this is!


To stamp the leaf design, I used Color Club Antiquated and the Bundle Monster Plate BM04. I wish I had used a better color for the stamping, it doesn't show up as brightly as I would have liked. This would be fun to try with some other fall colors sometime. Thanks for looking!

Wednesday, October 3, 2012

Sally Hansen Grey Area


Today I have for you Sally Hansen Grey Area. I have been in the mood for Fall colors... and this was the perfect fix! I got this color last Fall, and it's beautiful! It's such a perfect purplish-grey and it has a really nice formula. This is two coats with a coat of Seche Vite on top. I don't know why I haven't worn this before, but I think it will be my go-to grey from now on. I love it!